Chocolate Guiness Cake

I can’t help it….. I keep making this!

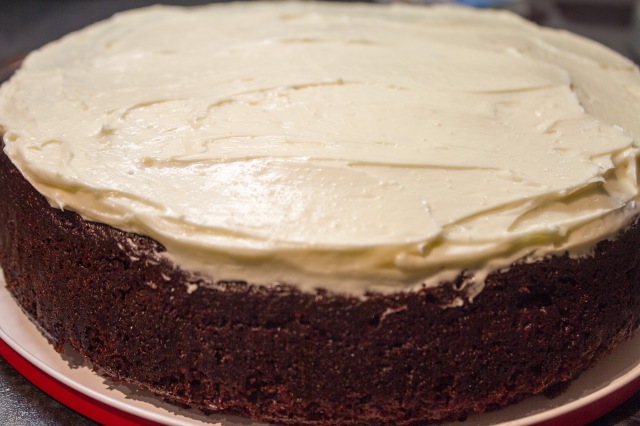
IMG_5981

Time and time again an occasion calls for a chocolate Guinness cake. It’s rich, moist and chocolatey, keeps well and freezes a charm.

I’ve made this recipe for birthdays and weddings, and even used it as a cupcake recipe without changing anything (it makes loads!) It is simply one of my most loved and made recipes. I have made it so many times, to the point where I generally forget to take photos! The photo above wasn’t the finished product, with a bit more swirling of frosting and a sprinkle of cocoa powder it was ready to be a birthday cake! So not the best looking example but the most tasty! So without further ado…

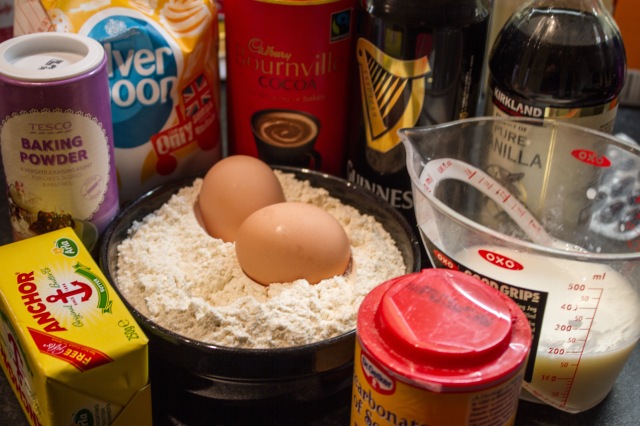
You will need:

IMG_5955

250ml of Guinness

250g butter

80g Cocoa powder

400g Caster Sugar

2 eggs

1 tsp of Vanilla extract

140ml of Buttermilk (I tend to make my own)

280g Plain Flour

2 teaspoons of bicarbonate of soda

1/2 a teaspoon of baking powder

For the icing:

50g butter

250g-300g icing sugar (depending how sweet you like it)

300g Philidelphia (Cream Cheese)

Cocoa powder or grated chocolate for dusting/garnish

IMG_5974

Method:

Preheat your oven at 170c and line a 23cm cake tin with baking paper. I like to line the bottom circle and around the edges also.

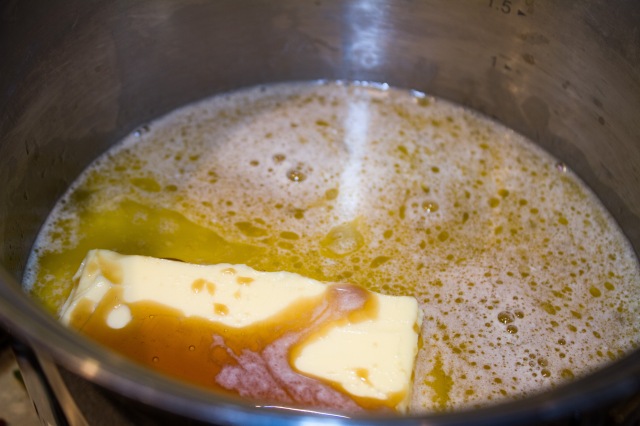
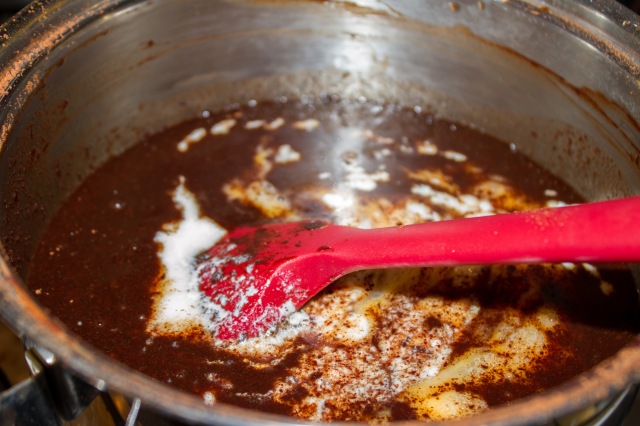
Pour the Guiness into a saucepan and also tip in the butter. On a fairly low heat, melt the butter until you have a gorgeous brown liquid. Remove from the heat and tip in the sugar in one go, stirring until it has all combined.

IMG_5957

Sieve the cocoa powder into a bowl and add to your butter mixture a few spoonfuls at a time, mixing well- and it does need a lot of mixing so there are no pockets of cocoa powder remaining.

Whisk your eggs and add your vanilla and buttermilk and mix (really) well.

Add your egg mixture to your chocolatey liquid and mix to form quite a gloopy mixture!

IMG_5961

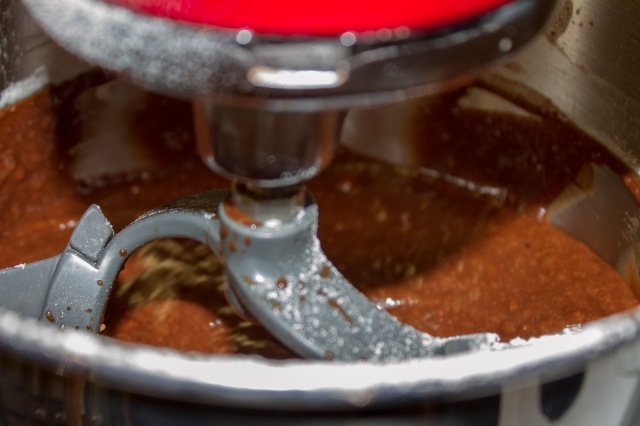
Sieve your dry ingredients into a bowl or stand mixer bowl and pour in your chocolate Guinness gloop slowly as you mix. Be sure to scrape down the sides regularly and mix well as I sometimes find the flour seems to like staying in clumps! Don’t be alarmed- just keep mixing.

IMG_5962

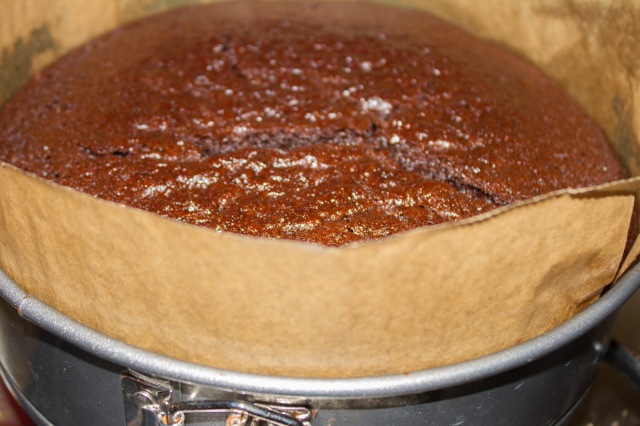
Once fully combined, pour into your prepared tin and bake in the oven for around 50 minutes. Keep an eye on it near the end, the sponge should be springy and soft but a skewer should come out clean.

IMG_5966

Remove from the oven and cool in the tin. The sponge will be very moist and soft so have your serving plate or box ready for a quick transfer!

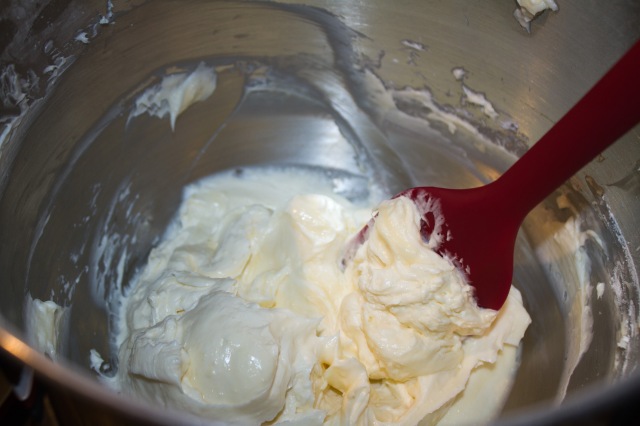
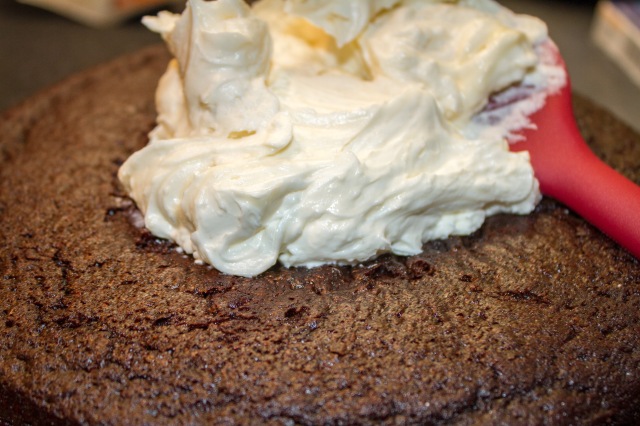
For the frosting you will to put room temperature butter in a mixer and beat until smooth. Add your icing sugar and once mostly smooth add your cream cheese and vanilla extract to the mix. Beat until white and light and fluffy. It is then ready to spread over your completely cool cake. Dust with cocoa or grated chocolate and you are done.

IMG_5977

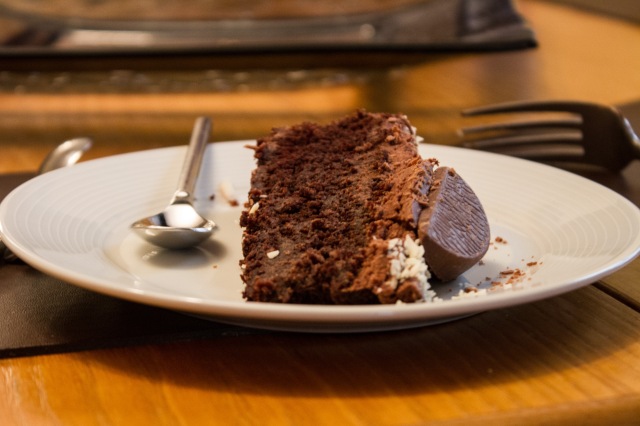
I find this cake is best made the day before you want to serve it, which can be quite handy. It also works well with other various icings other than cream cheese, so be adventurous! Here is a slice of a chocolate Guinness cake I made into super chocolatey celebration cake.

IMG_0698


Thanks to the Hummingbird Bakery for this amazing recipe. http://www.hummingbirdbakery,com

Carrot and Orange Cupcakes

IMG_3863

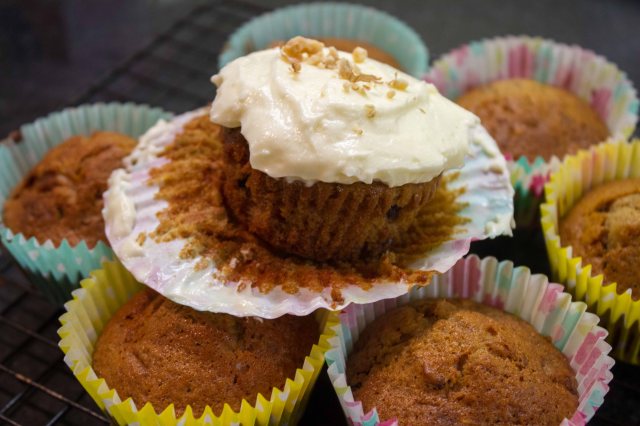
Carrot cake is a favourite for many people, so carrot cake in a cupcake sounded like a good plan, especially with a twist of orange to lift the flavour. I baked these when visiting my mum who is a massive carrot cake fan and they went down a storm!

They work well with or without the frosting on top and would be at home as a muffin filled to the brim in a larger case too. The ingredients list looks pretty long, but don’t be fooled: they are really simple!

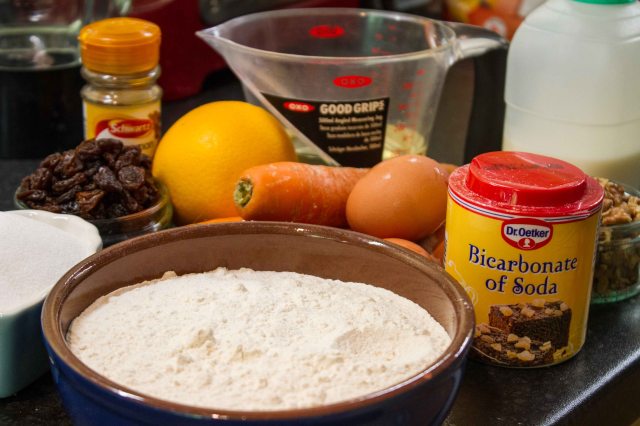
You will need:

IMG_3835

300g plain flour

225g caster sugar

2 teaspoons  bicarbonate of soda

1 teaspoon of cinnamon

1 teaspoon of mixed spice

175ml sunflower oil

175ml milk

3 eggs

120g carrot

150g raisins and/or sultanas

120g walnuts (optional)

1 orange

12g icing sugar

40g butter

85g cream cheese

Method:

Preheat the oven at 180c and find some pretty cake cases to go into cake tins.

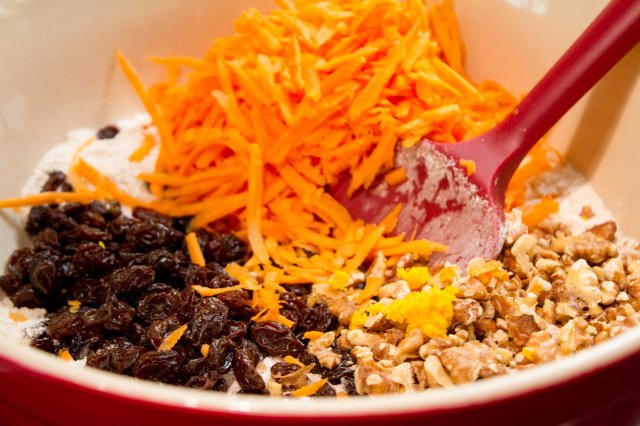
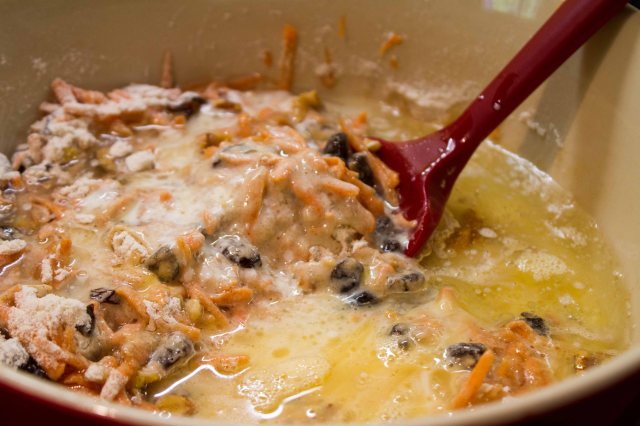
Put all of the dry ingredients into bowl (sieving the flour) including the grated carrot, some grated orange zest and raisins and give it a quick mix.

IMG_3840

In a jug whisk your eggs up and add the sunflower oil and milk. Squeeze half an orange into your wet ingredients.

Add wet ingredients to your dry ingredients and mix until just combined.

IMG_3843

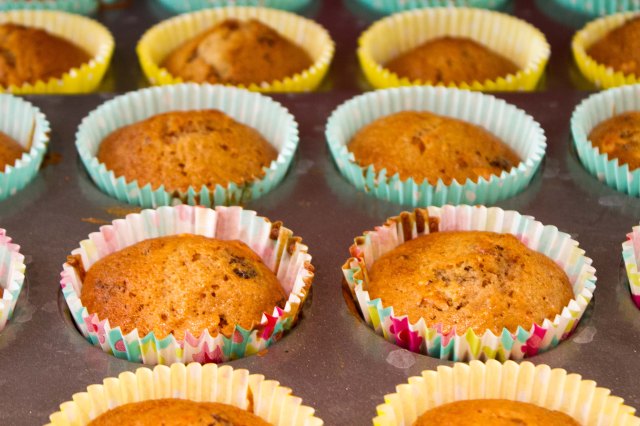
Spoon your batter evenly into your cake cases and bake for around 20 minutes, until golden brown and a skewer comes out clean.

Allow to cool in the tin for 10 minutes or so before turning out onto a cooling rack.

IMG_3849

Then onto making the frosting:

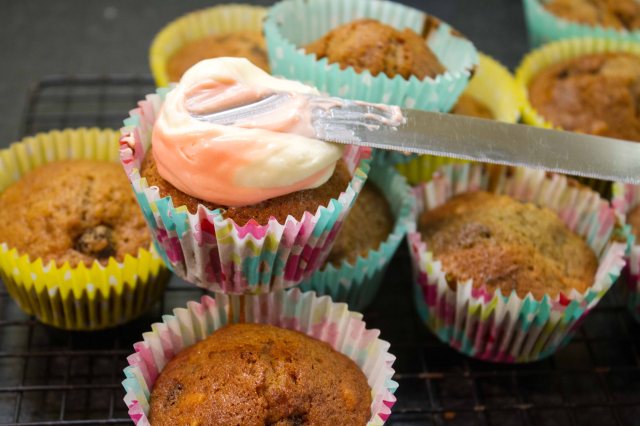
Beat your butter until smooth and pale. Add your icing sugar in a few goes as you mix. Squeeze the other half of your orange into the icing and mix well. Then mix in your cream cheese until your frosting is smooth and white. At this point you can add a colour if you wish. Spread or pipe onto your cupcakes and decorate as you wish. I put some crushed walnuts on some.

IMG_3858

I enjoyed making (and eating!) these but next time I make them, I personally won’t include the walnuts in the cake batter.

Red, White and Blue

I love colour-  and red, white a blue is always a winning combination- especially in the summer.

IMG_0084

There’s always something to get patriotic about: last year it was the Olympics and the Queen’s jubilee, this year its Wimbledon and the impending birth of a royal baby!

I wanted to share some red, white and blue cupcakes I made- so easy yet really effective and fun.

IMG_0078

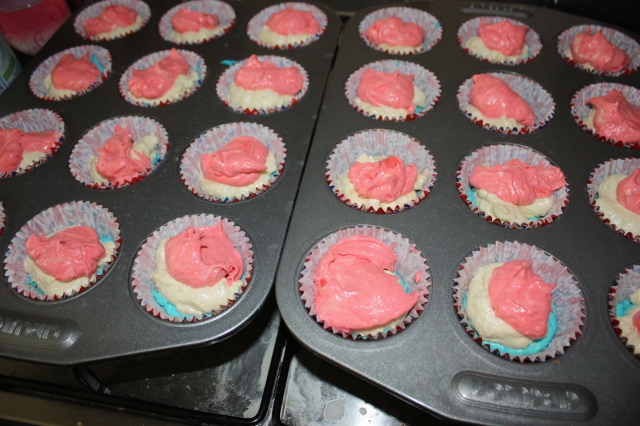
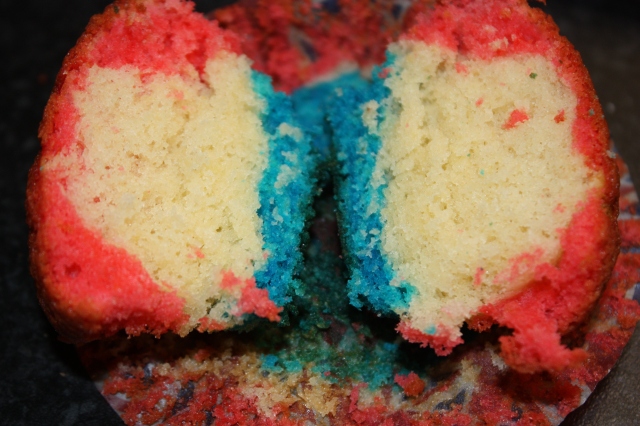
All you need to do is use a cupcake recipe you like and divide the mixture into three, adding red and blue gel food colours to 2/3rds of the mixture. Place a spoonful of each colour into the cake case. You could use a cocktail stick to make a swirl or leave it as is. Bake as usual and you will be left with a pretty, coloured cake.

IMG_0083

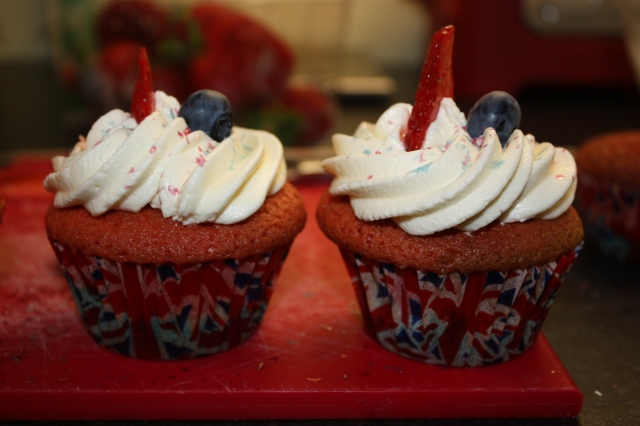
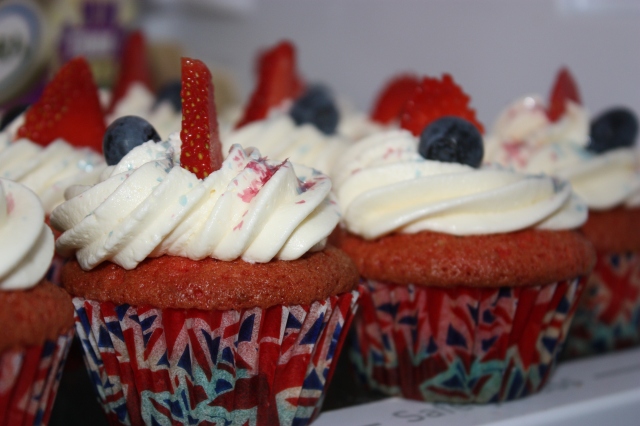
Next you need to decorate. Keeping with the colour theme I used fresh cream in usual butter cream to make it nice and white. It also means the icing is really soft and fluffy too. Decorate with strawberry and blueberry and a sprinkle of red and blue glitter and you’re done!

IMG_0089