I can’t help it….. I keep making this!
Time and time again an occasion calls for a chocolate Guinness cake. It’s rich, moist and chocolatey, keeps well and freezes a charm.
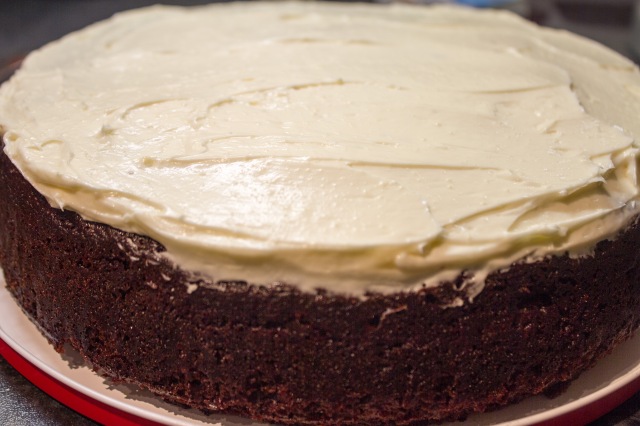
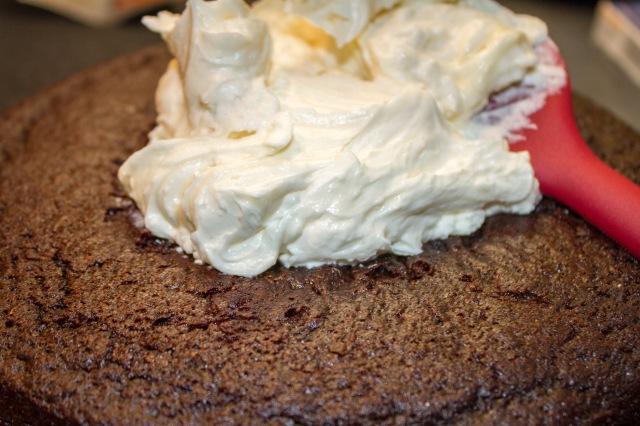
I’ve made this recipe for birthdays and weddings, and even used it as a cupcake recipe without changing anything (it makes loads!) It is simply one of my most loved and made recipes. I have made it so many times, to the point where I generally forget to take photos! The photo above wasn’t the finished product, with a bit more swirling of frosting and a sprinkle of cocoa powder it was ready to be a birthday cake! So not the best looking example but the most tasty! So without further ado…
You will need:
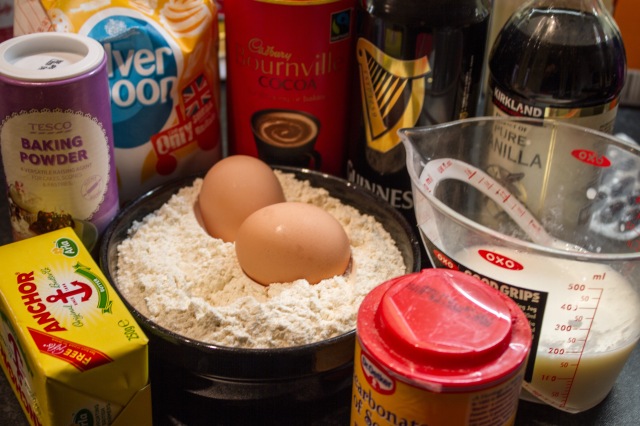
250ml of Guinness
250g butter
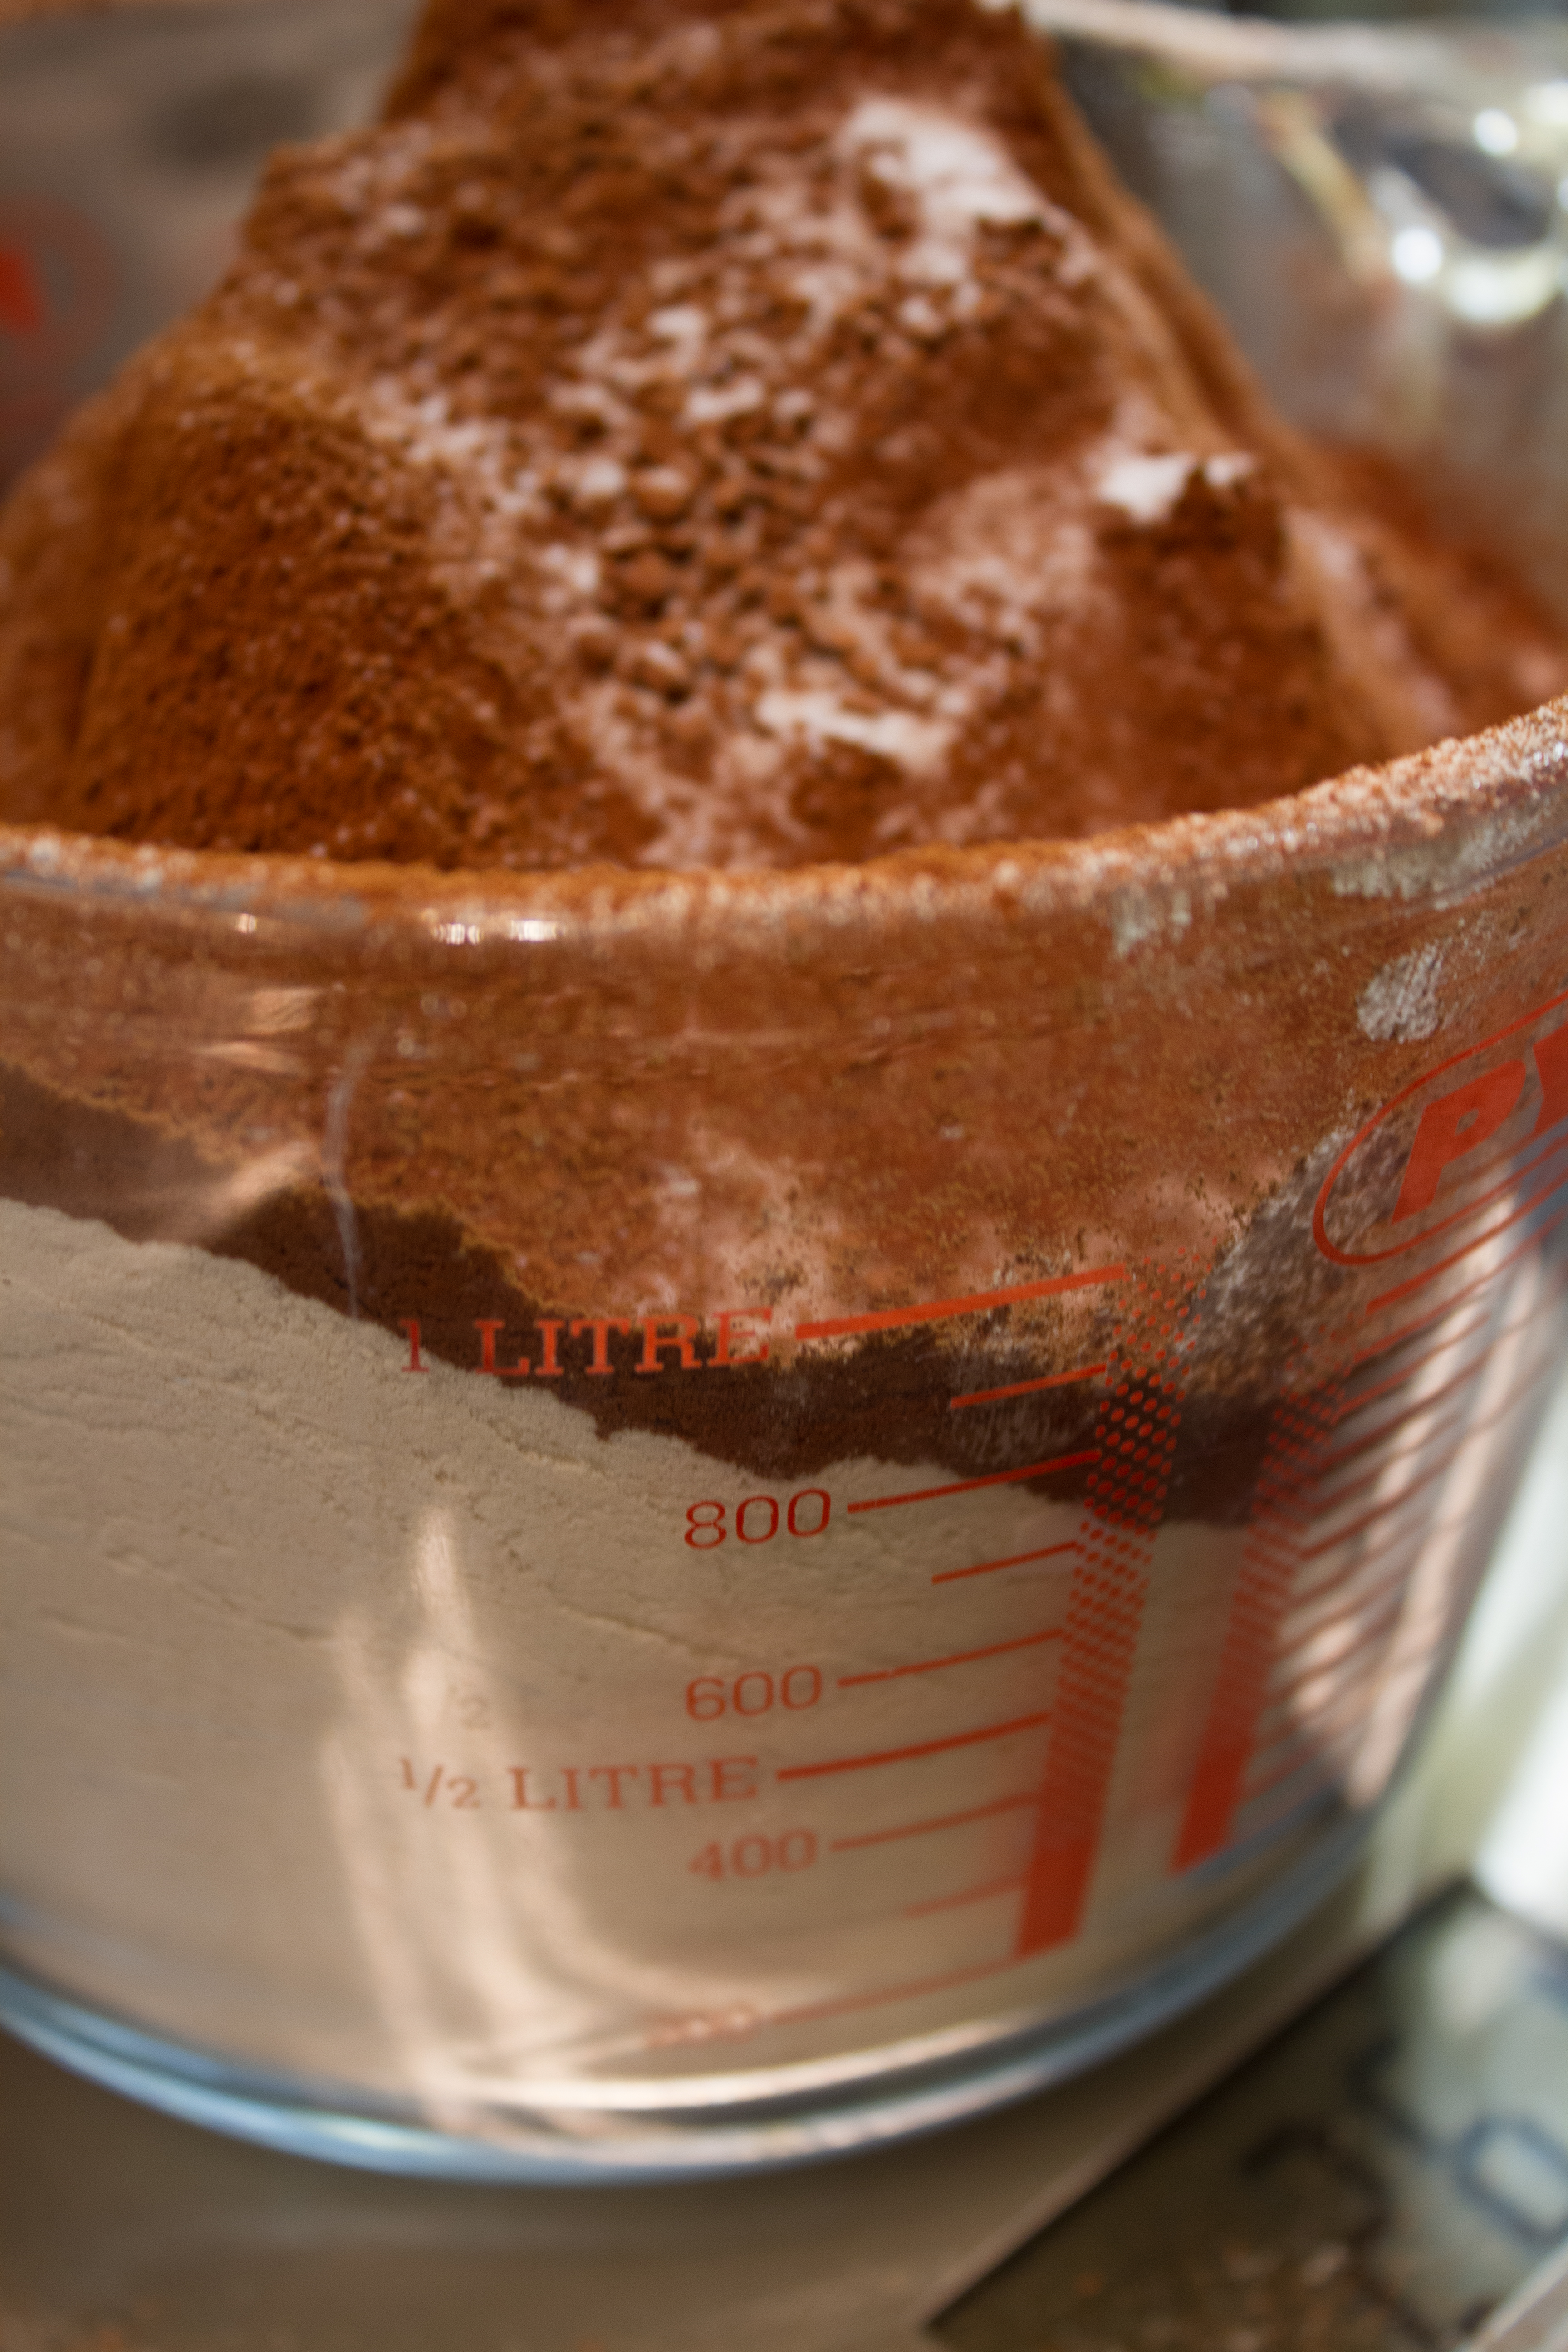
80g Cocoa powder
400g Caster Sugar
2 eggs
1 tsp of Vanilla extract
140ml of Buttermilk (I tend to make my own)
280g Plain Flour
2 teaspoons of bicarbonate of soda
1/2 a teaspoon of baking powder
For the icing:
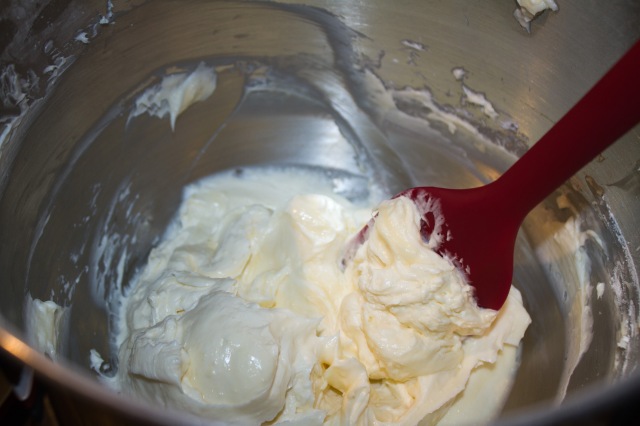
50g butter
250g-300g icing sugar (depending how sweet you like it)
300g Philidelphia (Cream Cheese)
Cocoa powder or grated chocolate for dusting/garnish
Method:
Preheat your oven at 170c and line a 23cm cake tin with baking paper. I like to line the bottom circle and around the edges also.
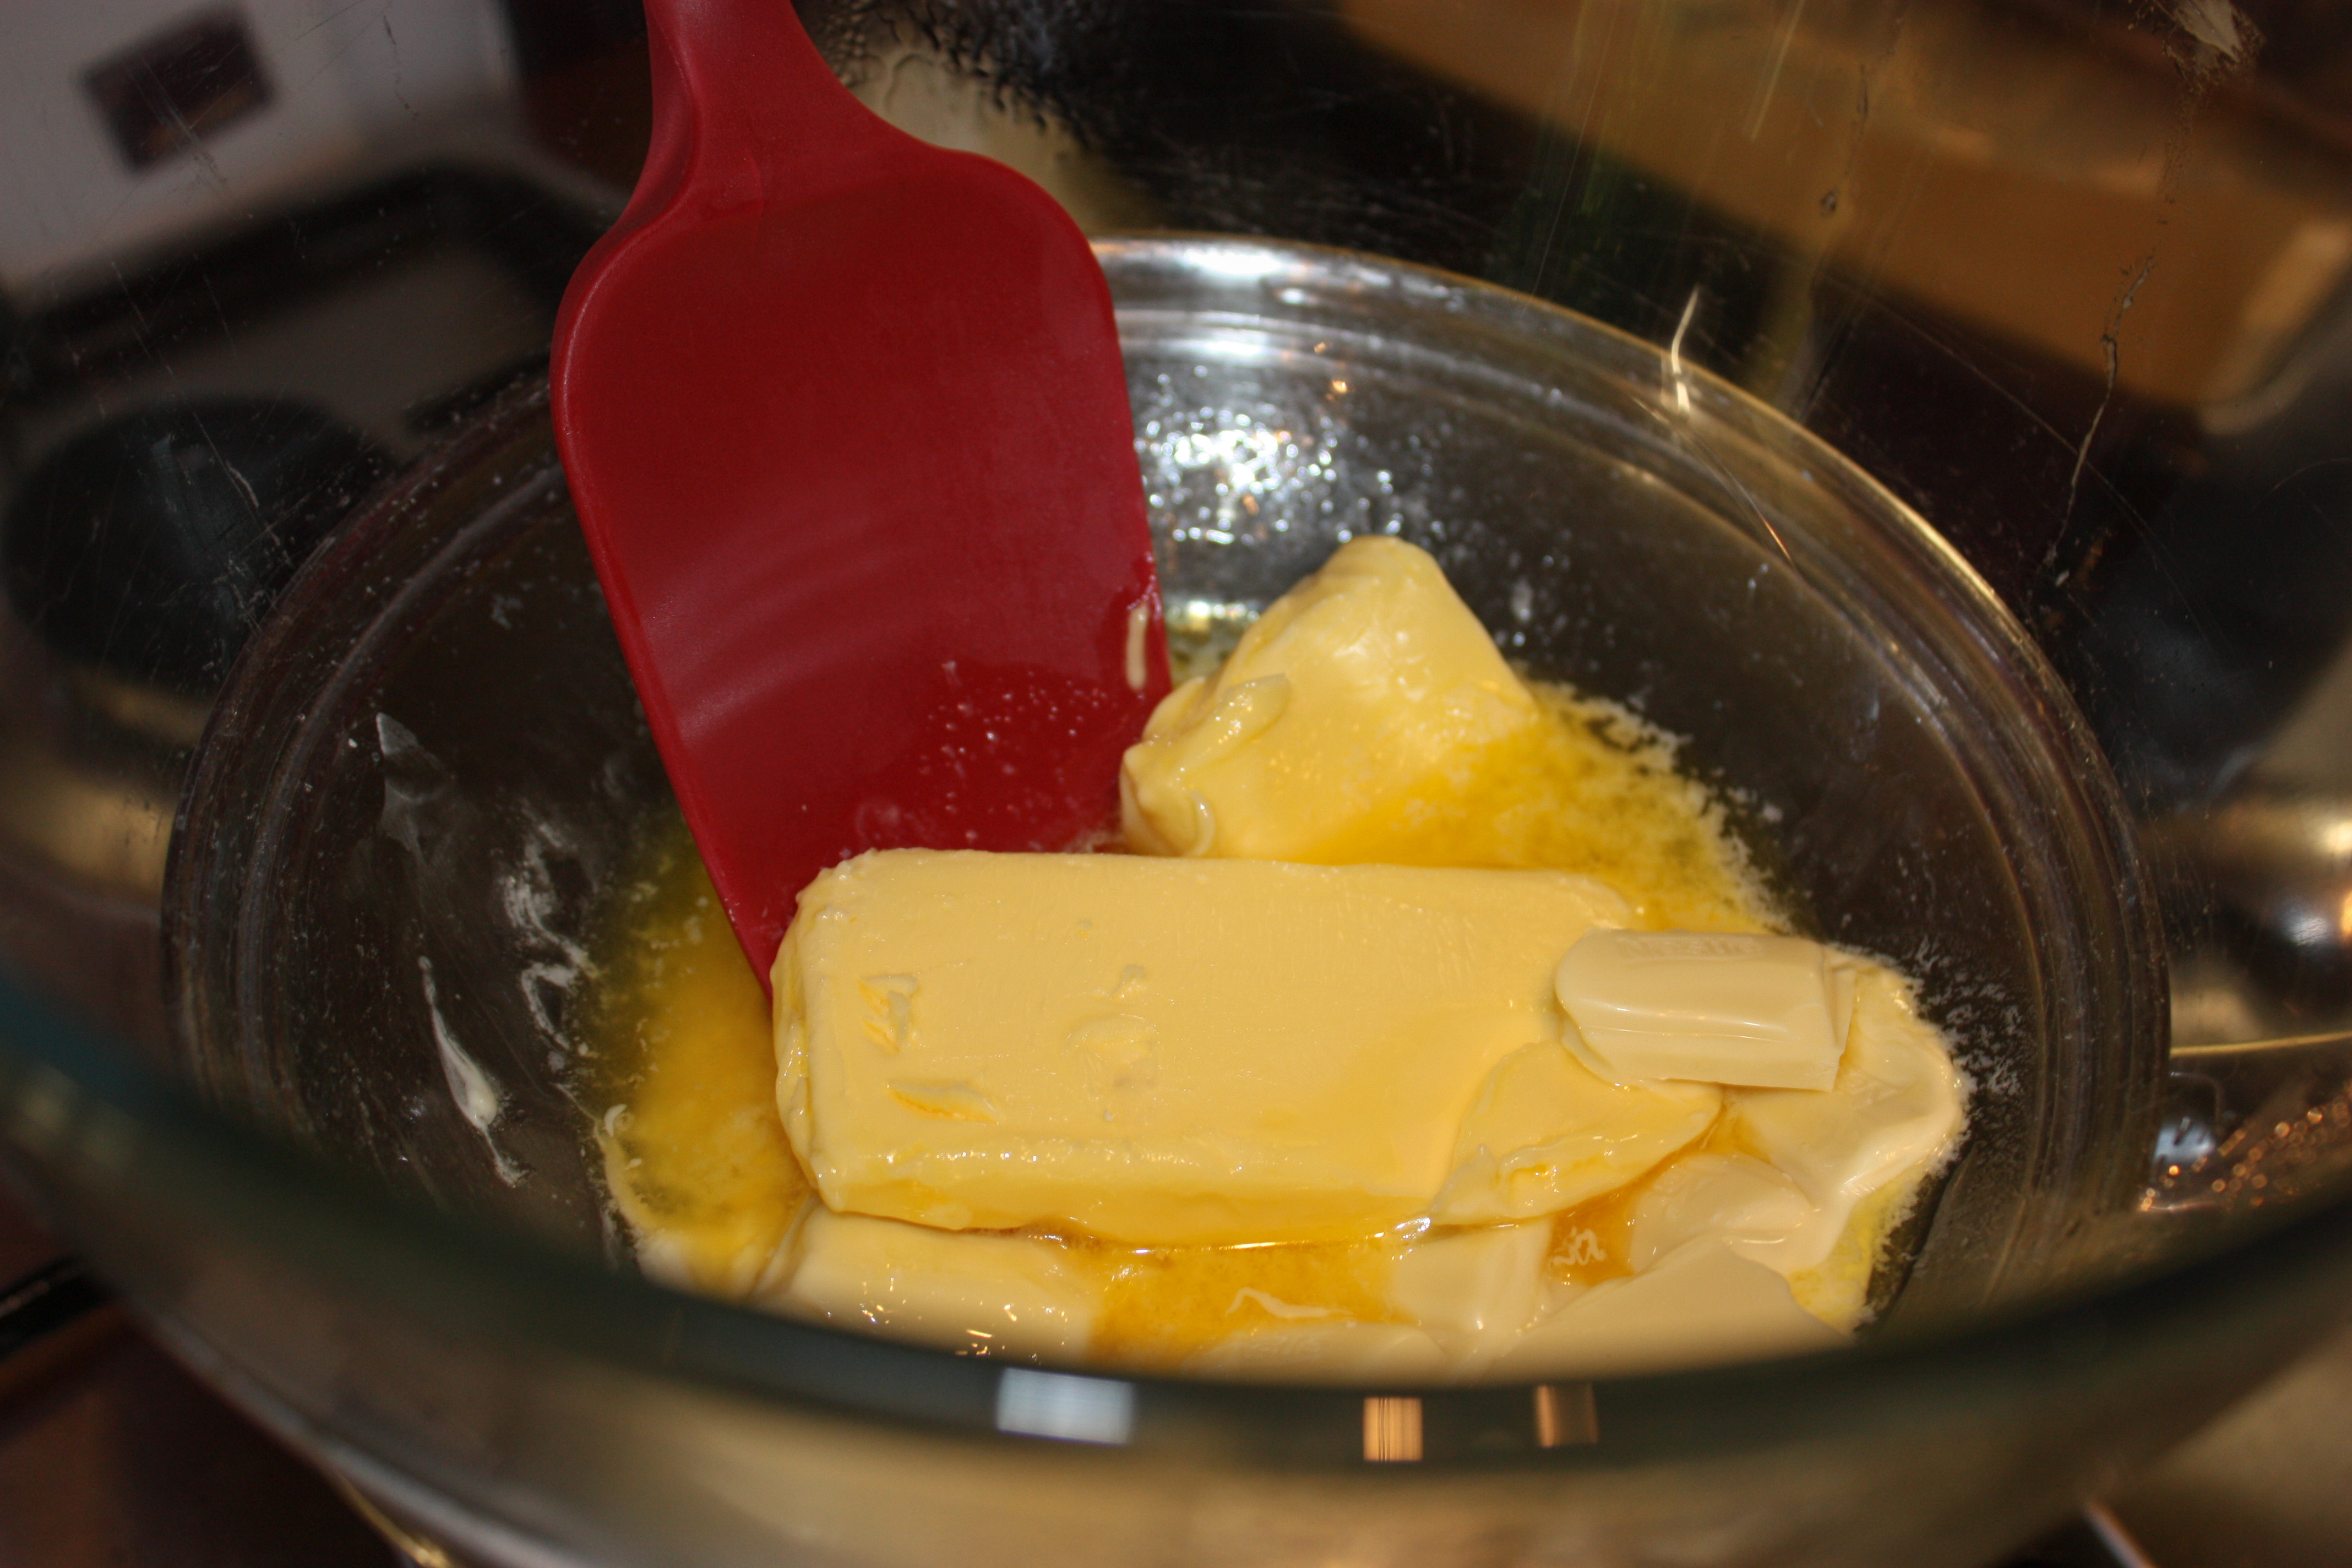
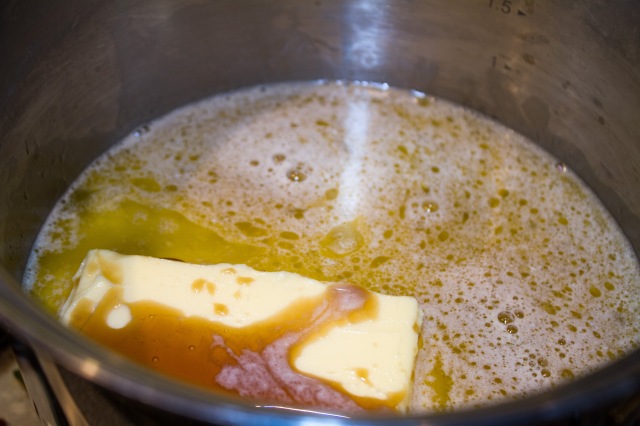
Pour the Guiness into a saucepan and also tip in the butter. On a fairly low heat, melt the butter until you have a gorgeous brown liquid. Remove from the heat and tip in the sugar in one go, stirring until it has all combined.
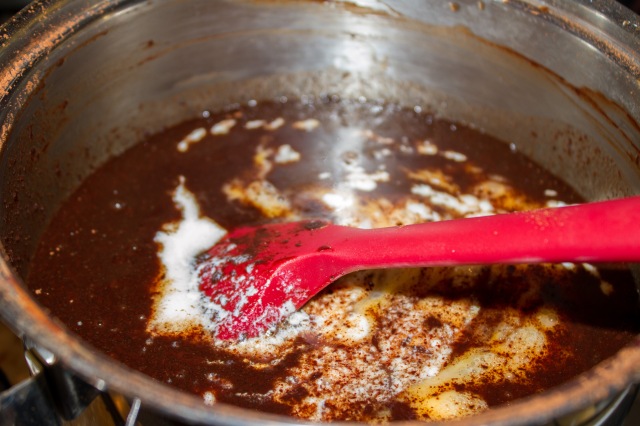
Sieve the cocoa powder into a bowl and add to your butter mixture a few spoonfuls at a time, mixing well- and it does need a lot of mixing so there are no pockets of cocoa powder remaining.
Whisk your eggs and add your vanilla and buttermilk and mix (really) well.
Add your egg mixture to your chocolatey liquid and mix to form quite a gloopy mixture!
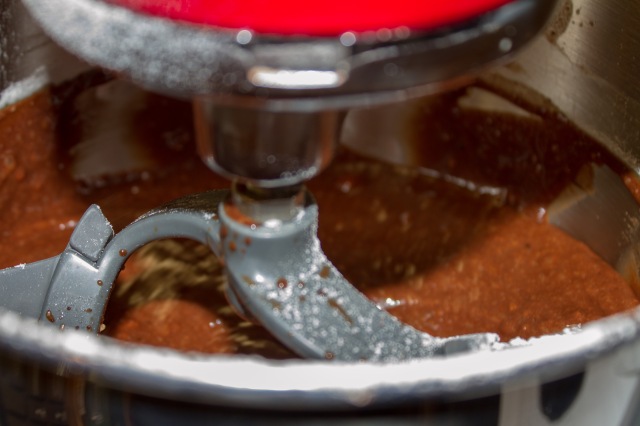
Sieve your dry ingredients into a bowl or stand mixer bowl and pour in your chocolate Guinness gloop slowly as you mix. Be sure to scrape down the sides regularly and mix well as I sometimes find the flour seems to like staying in clumps! Don’t be alarmed- just keep mixing.
Once fully combined, pour into your prepared tin and bake in the oven for around 50 minutes. Keep an eye on it near the end, the sponge should be springy and soft but a skewer should come out clean.
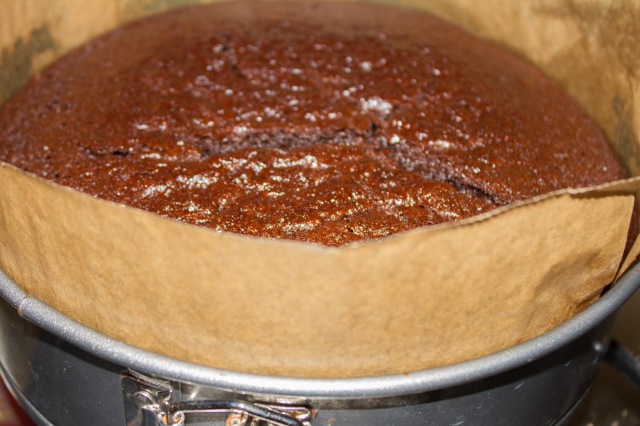
Remove from the oven and cool in the tin. The sponge will be very moist and soft so have your serving plate or box ready for a quick transfer!
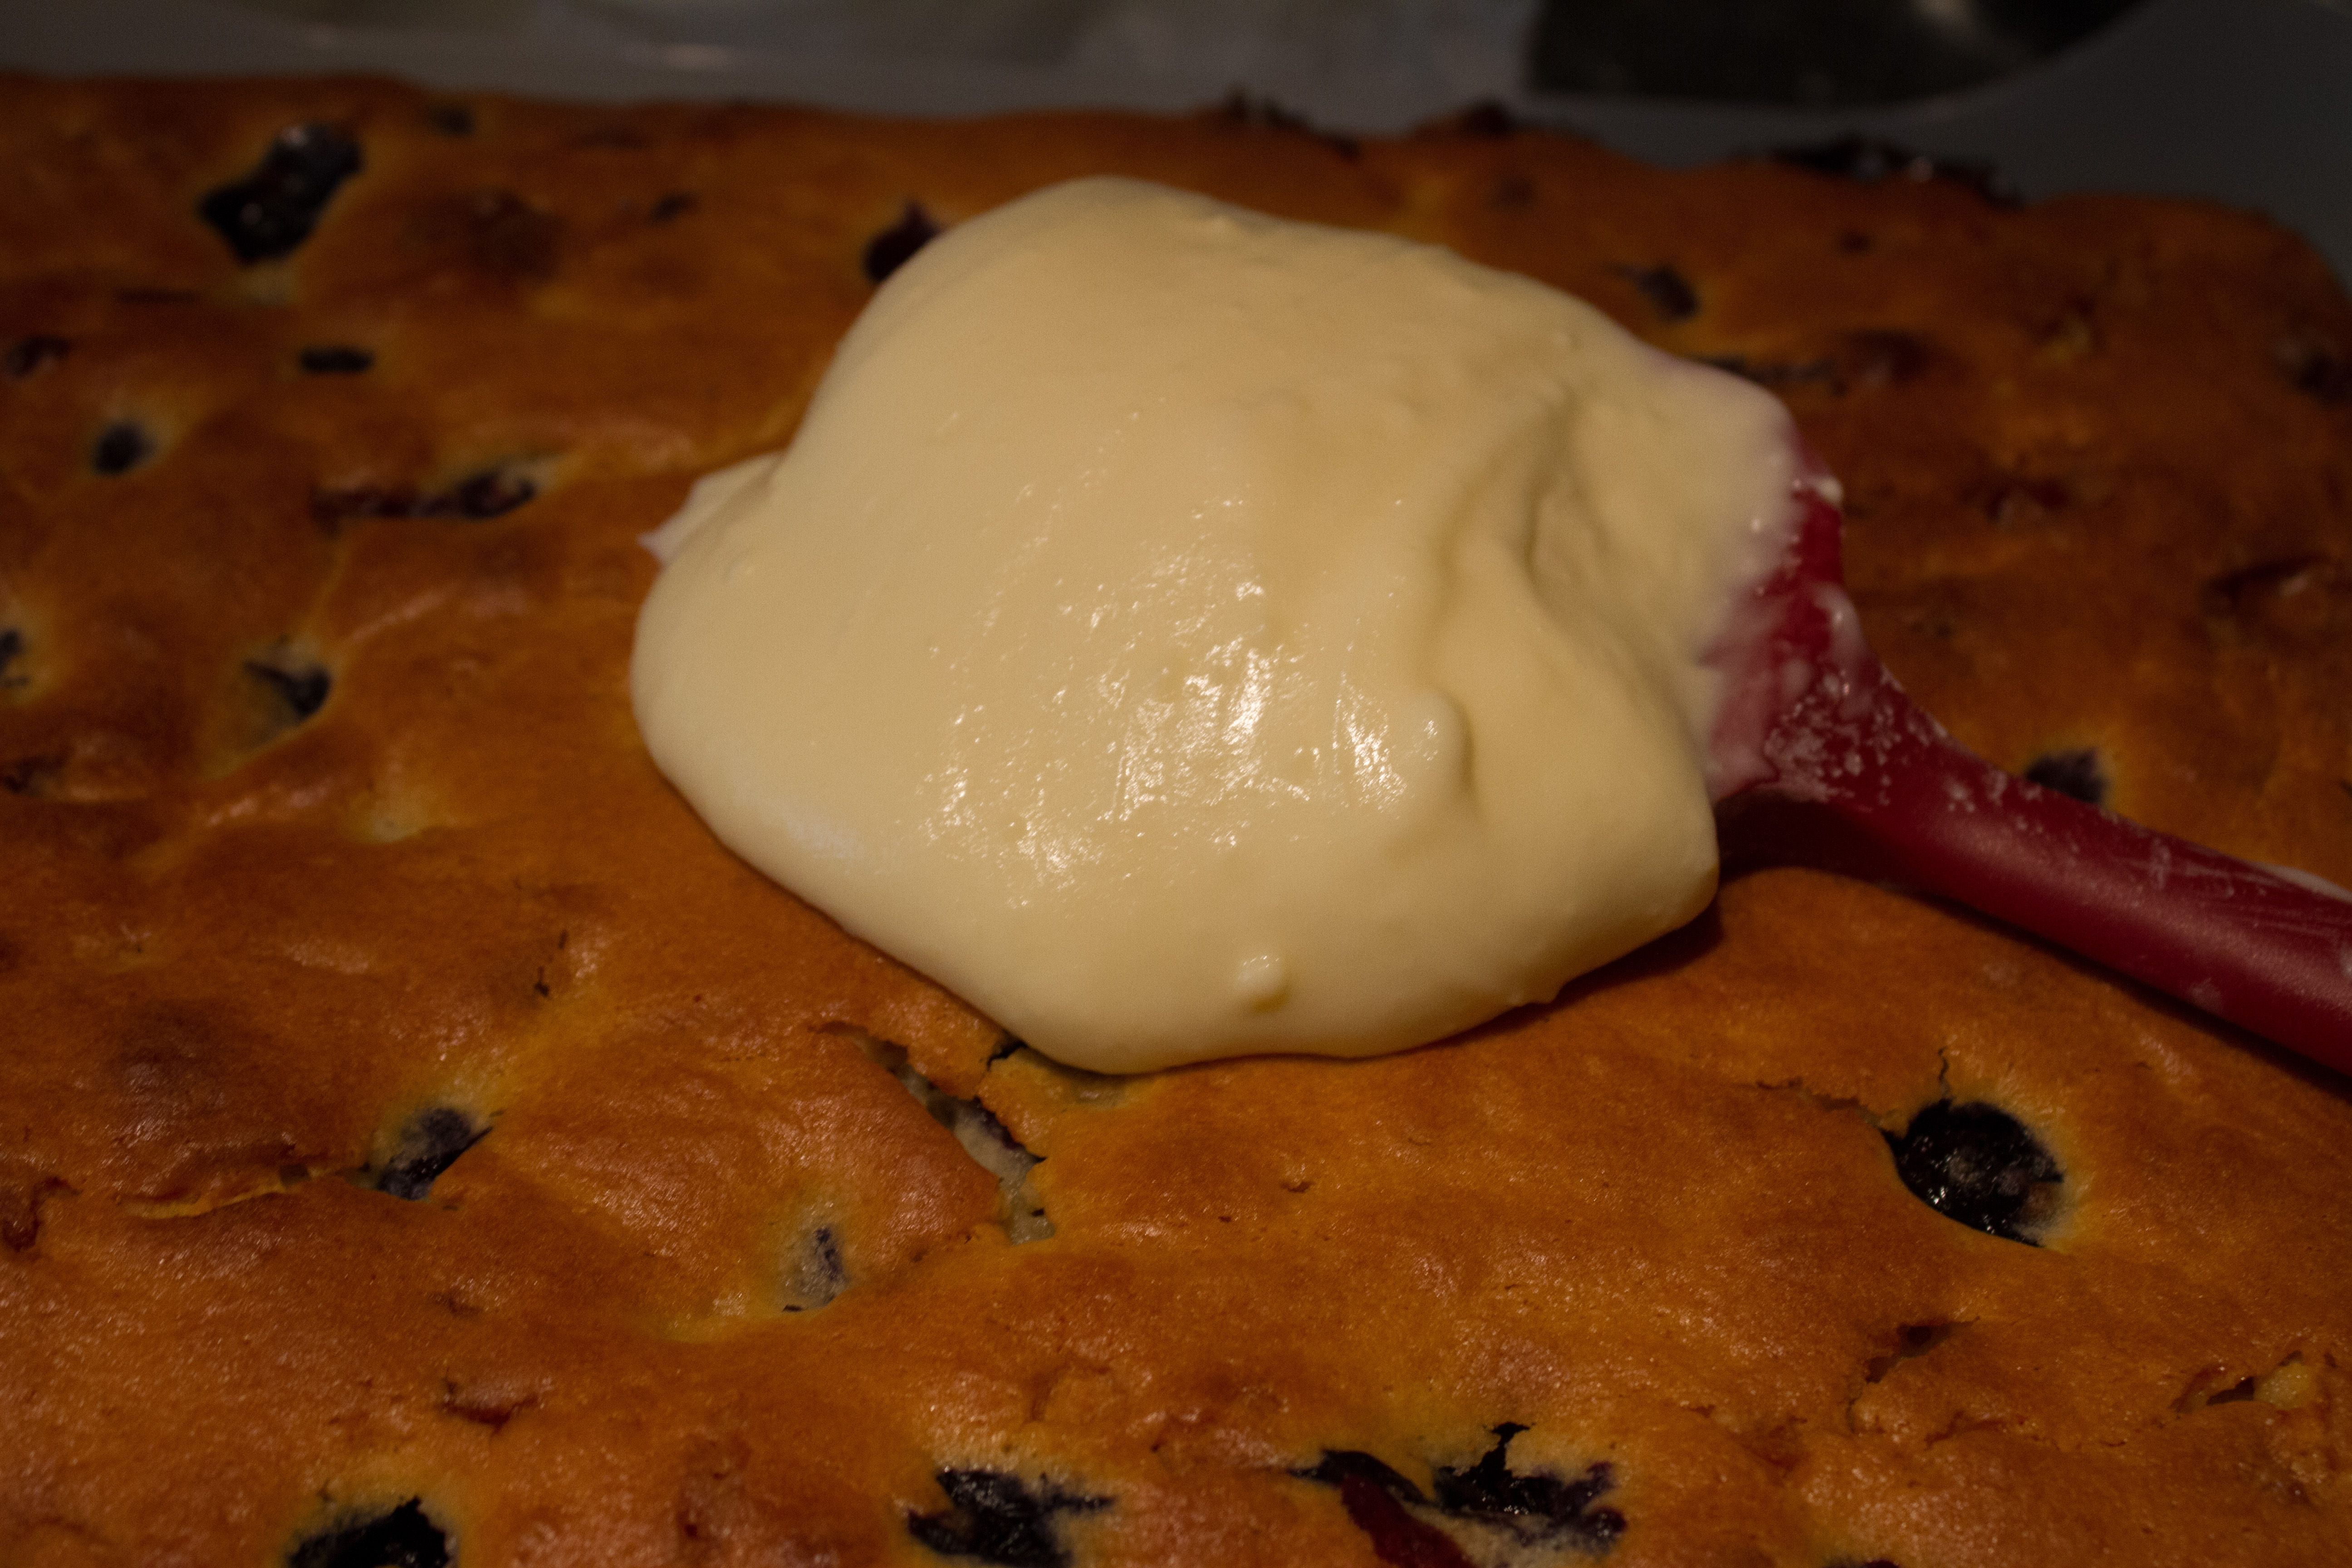
For the frosting you will to put room temperature butter in a mixer and beat until smooth. Add your icing sugar and once mostly smooth add your cream cheese and vanilla extract to the mix. Beat until white and light and fluffy. It is then ready to spread over your completely cool cake. Dust with cocoa or grated chocolate and you are done.
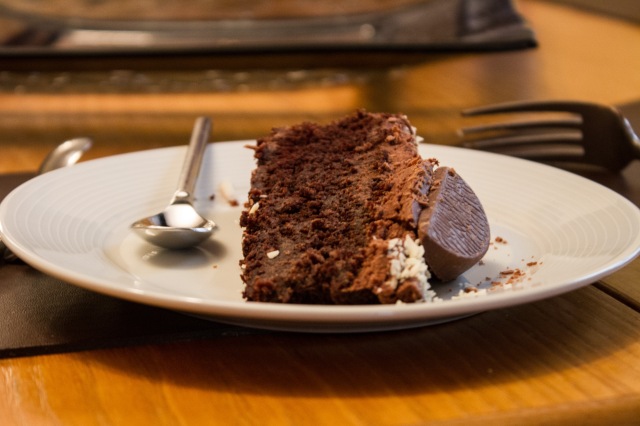
I find this cake is best made the day before you want to serve it, which can be quite handy. It also works well with other various icings other than cream cheese, so be adventurous! Here is a slice of a chocolate Guinness cake I made into super chocolatey celebration cake.
Thanks to the Hummingbird Bakery for this amazing recipe. http://www.hummingbirdbakery,com